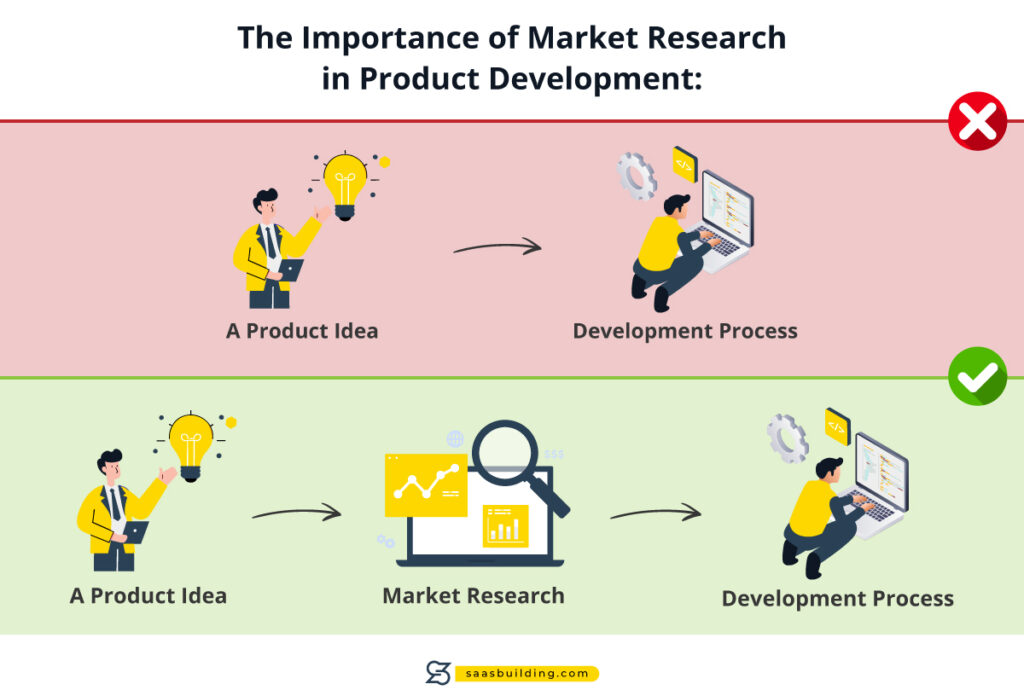
One of the biggest mistakes new entrepreneurs make is building a product without validating the idea first.
Imagine spending months developing a product, only to find out there’s no real market need for it.
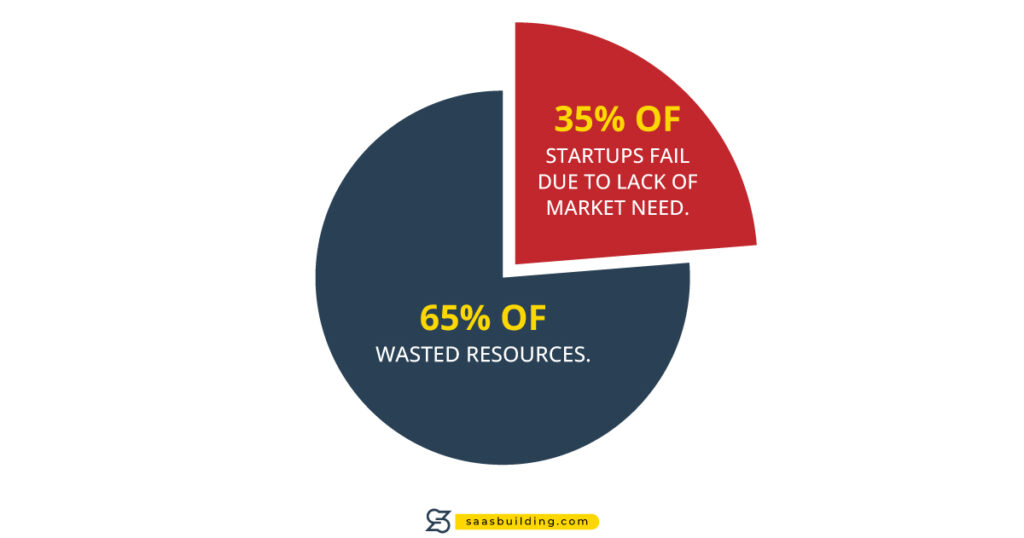
According to CB Insights, a staggering 35% of startups fail because there’s no market need for their product. That’s a harsh reality, but one you can avoid by validating your business idea upfront.
Without validation, you might find yourself building a business around an idea that simply doesn’t resonate with your target market.
The consequences?
Wasted resources, financial losses, and potentially the failure of your business before it even gets off the ground.
This guide is specifically designed for fresh entrepreneurs who have little to no experience in building SaaS products, or for those who have tried before and failed.
So, if you’re a business owner who’s eager to ensure your SaaS idea has real potential but aren’t sure where to start, you’re in the right place.
In this blog, we’ll walk you through seven actionable steps to validate your AI SaaS product idea. Each step is designed to help you understand the market, identify your audience, and ensure your product has a real chance of success.
We’ll also introduce AI tools and techniques that can streamline this process. Let’s dive in!
Step 1: Define the Problem You’re Solving
Every successful AI SaaS product begins with a clear understanding of the problem it aims to solve. It’s easy to get caught up in the excitement of your idea, but without a well-defined problem, your product might end up being a solution in search of a problem, something nobody wants to pay for.
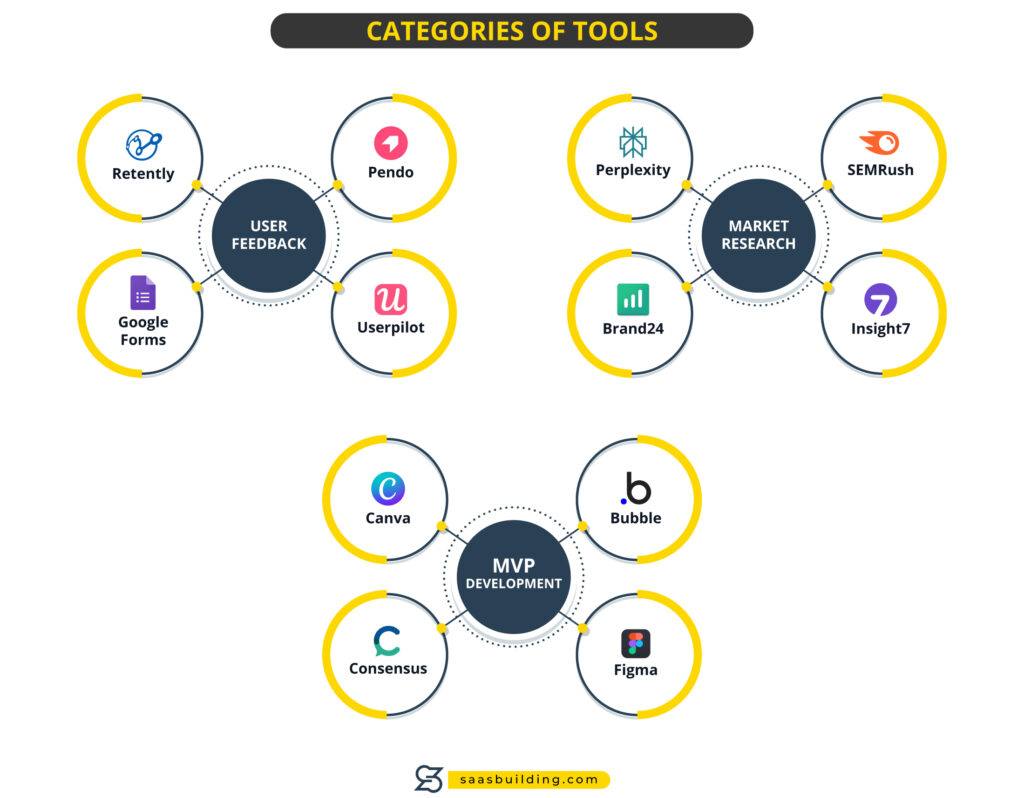
To kick off my journey, I knew I needed to clearly define the problem my meal planning app would address. I utilized MonkeyLearn to analyze customer feedback from various online forums and social media platforms. By importing text data and tagging it for sentiment, I generated visual reports that highlighted recurring pain points, such as time constraints and unhealthy eating habits.
This analysis helped me articulate a compelling problem statement: busy professionals struggle to maintain healthy eating habits due to lack of time for meal preparation.
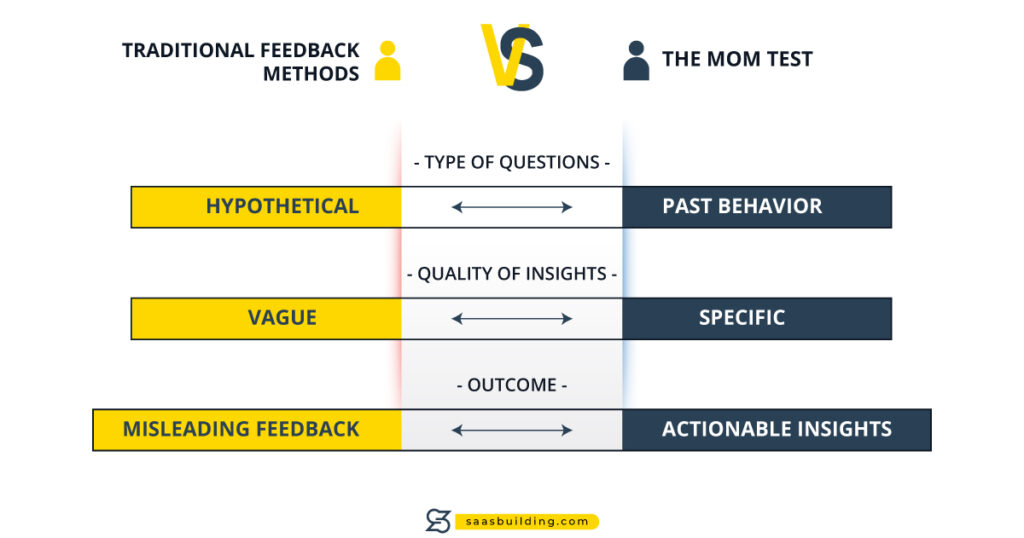
I also used the technique called the Mom Test which is a method for gathering honest and actionable feedback from potential customers by focusing on their past behaviors and experiences rather than hypothetical opinions.
Good Questions to Ask:
- Focus on Past Behavior:
- “Can you tell me about a time you faced this problem? What did you do to solve it?”
- “What tools are you currently using to manage this issue?”
- Understand the User’s Life:
- “What is the most time-consuming task you do each day?”
- “What are your biggest frustrations with your current solution?”
- Gather Specifics:
- “How much time do you spend solving this problem?”
- “What features would be most helpful to you in a solution like this?”
Avoid:
- Hypothetical Questions: “Would you use a product that does X?”
- Leading Questions: “Don’t you think this feature would be useful?”
- Generic Opinions: “How do you feel about this idea?”
By using the Mom Test, you can obtain valuable insights into real user needs and behaviors, helping you refine your business idea effectively.
Harvard Business School highlights the importance of clearly defining the problem your business aims to solve. If potential customers can’t immediately understand the value of your product, it might not stand a chance in the market.
Step 2: Identify Your Target Audience
Next, who exactly are you solving this problem for?
You might think your product is for everyone, but the reality is that businesses with a specific, well-defined target market tend to perform better.
Brand24 is an essential tool for identifying your target audience. By setting up monitoring for relevant keywords like “meal planning” and “healthy eating,” I analyzed real-time mentions across various online platforms. The sentiment analysis feature helped me understand public feelings toward these topics, while identifying influencers allowed me to engage effectively with potential customers.
Additionally, exploring discussions around your keywords reveals online communities where your target audience interacts, providing valuable insights into their needs and challenges. Overall, Brand24 equips you with the data necessary to refine your audience profile and tailor your meal planning app to better meet user demands.
According to a study by Entrepreneur, businesses that precisely target their audience see up to 3x higher conversion rates compared to those with a broad, generic focus.
3. Analyze the Competition
No business exists in a vacuum, so it’s crucial to understand what your competitors are doing and where you can offer something different.
I used SEMrush to conduct a competitive analysis by entering the domains of popular meal planning services like Blue Apron and HelloFresh.
This tool allowed me to assess their traffic sources, keywords, and marketing strategies, revealing gaps in the market. I discovered that while these services offered meal kits, they were often expensive and time-consuming, which presented an opportunity for my app to offer quicker, more affordable meal planning solutions.
I also explored G2 and Capterra to check customer reviews for these services. I noticed many complaints about the time it took to prepare the meals. I’d tried similar services myself and faced the same frustration. This personal experience guided me to focus on quick, no-cook meal options in my app.
4. Create a Minimum Viable Product (MVP)
Strip your idea down to its core functionality, the one feature that solves the primary problem. For example, in my case, the MVP was a simple weekly meal planner that generated grocery lists based on user preferences.
I used tools like Canva and Figma to create wireframes or mockups of my MVP, and platforms like Bubble or WordPress for no-code or low-code development.

I launched a simple landing page describing the MVP and collected emails from interested users to gauge initial interest.
Pro tip: Don’t forget to set a strict timeline and budget for developing your MVP. The goal is not perfection but getting a functional product in front of users quickly. Measure success by the number of sign-ups or pre-orders you receive.
5. Test Your MVP with Real Users
Once my MVP was ready, it was time to test it with real users. I set up Google Analytics on my app to track user interactions, such as how often they accessed meal plans and which features they used most.
Additionally, I created a private Facebook group where beta testers could provide feedback and share their experiences. This direct engagement allowed me to gather valuable insights into user behavior and preferences..
This feedback was invaluable in shaping the next iteration of my product.
6. Gather and Analyze Feedback
Collecting and analyzing feedback will help you refine your product before a full launch.
I used Google Forms to collect feedback from my beta testers. I asked specific questions like, “Which meals did you enjoy the most?” and “What features would make this tool more useful?” I categorized the feedback into usability, functionality, and overall satisfaction. The most common request was for a shopping list feature, which I then prioritized for the next version of the app.
I made sure to address common issues directly in the Facebook group and updated the MVP based on their suggestions. This not only improved the product but also built a sense of community among the testers, who felt invested in its success.
7. Validate Willingness to Pay
Your idea isn’t truly validated until you know people are willing to pay for it.
I launched a pre-sale campaign on Kickstarter, presenting my app idea and offering early bird pricing for subscribers. This campaign not only generated excitement but also allowed me to gauge interest and validate the price point. When I hit my goal of 100 pre-orders within two weeks, I knew I had successfully validated both the product and its market potential.
Hitting the pre-sale goal was incredibly satisfying. I remember refreshing my email every few minutes to see new orders coming in. That moment of realization that people were actually willing to pay for something I created.. It was a huge confidence boost and a clear sign that I was ready to move forward with the full launch.
If people are hesitant to pay, dig into the reasons. Is it the price point, the product itself, or the lack of perceived value? Use this feedback to refine your offering or pricing strategy before a full launch.

Conclusion
Through this journey, I learned that validating a business idea is not just about having a great concept; it’s about systematically using the right tools to gather insights, understand the market, and refine the product. Each tool played a crucial role in helping me listen, learn, and adapt my meal planning app to meet the real needs of my target audience.
With this validation, I felt confident moving forward with the full launch of my app, knowing it was built on a solid foundation of research and user feedback. These aren’t just theoretical steps, they’re the exact process I’ve used to turn my ideas into successful ventures. With each step, remember that the goal is to listen, learn, and adapt. Your business idea will evolve, and that’s a good thing, it means you’re one step closer to success.
About the Author
Salman Ahmed
Founder, SaaS Building
Frequently Asked Questions
That’s not necessarily a bad thing! Competition validates that there’s a market. Focus on differentiating your product and offering something your competitors don’t.
The goal of an MVP is to test your idea with minimal investment. Start with the core features that solve the primary problem and scale up based on feedback.
There’s no one-size-fits-all answer, but thorough validation can take anywhere from a few weeks to several months. It depends on your market, product complexity, and access to customers.
Tools like Google Trends, SEMrush, Moz, and competitor analysis tools are great for understanding your market landscape.

